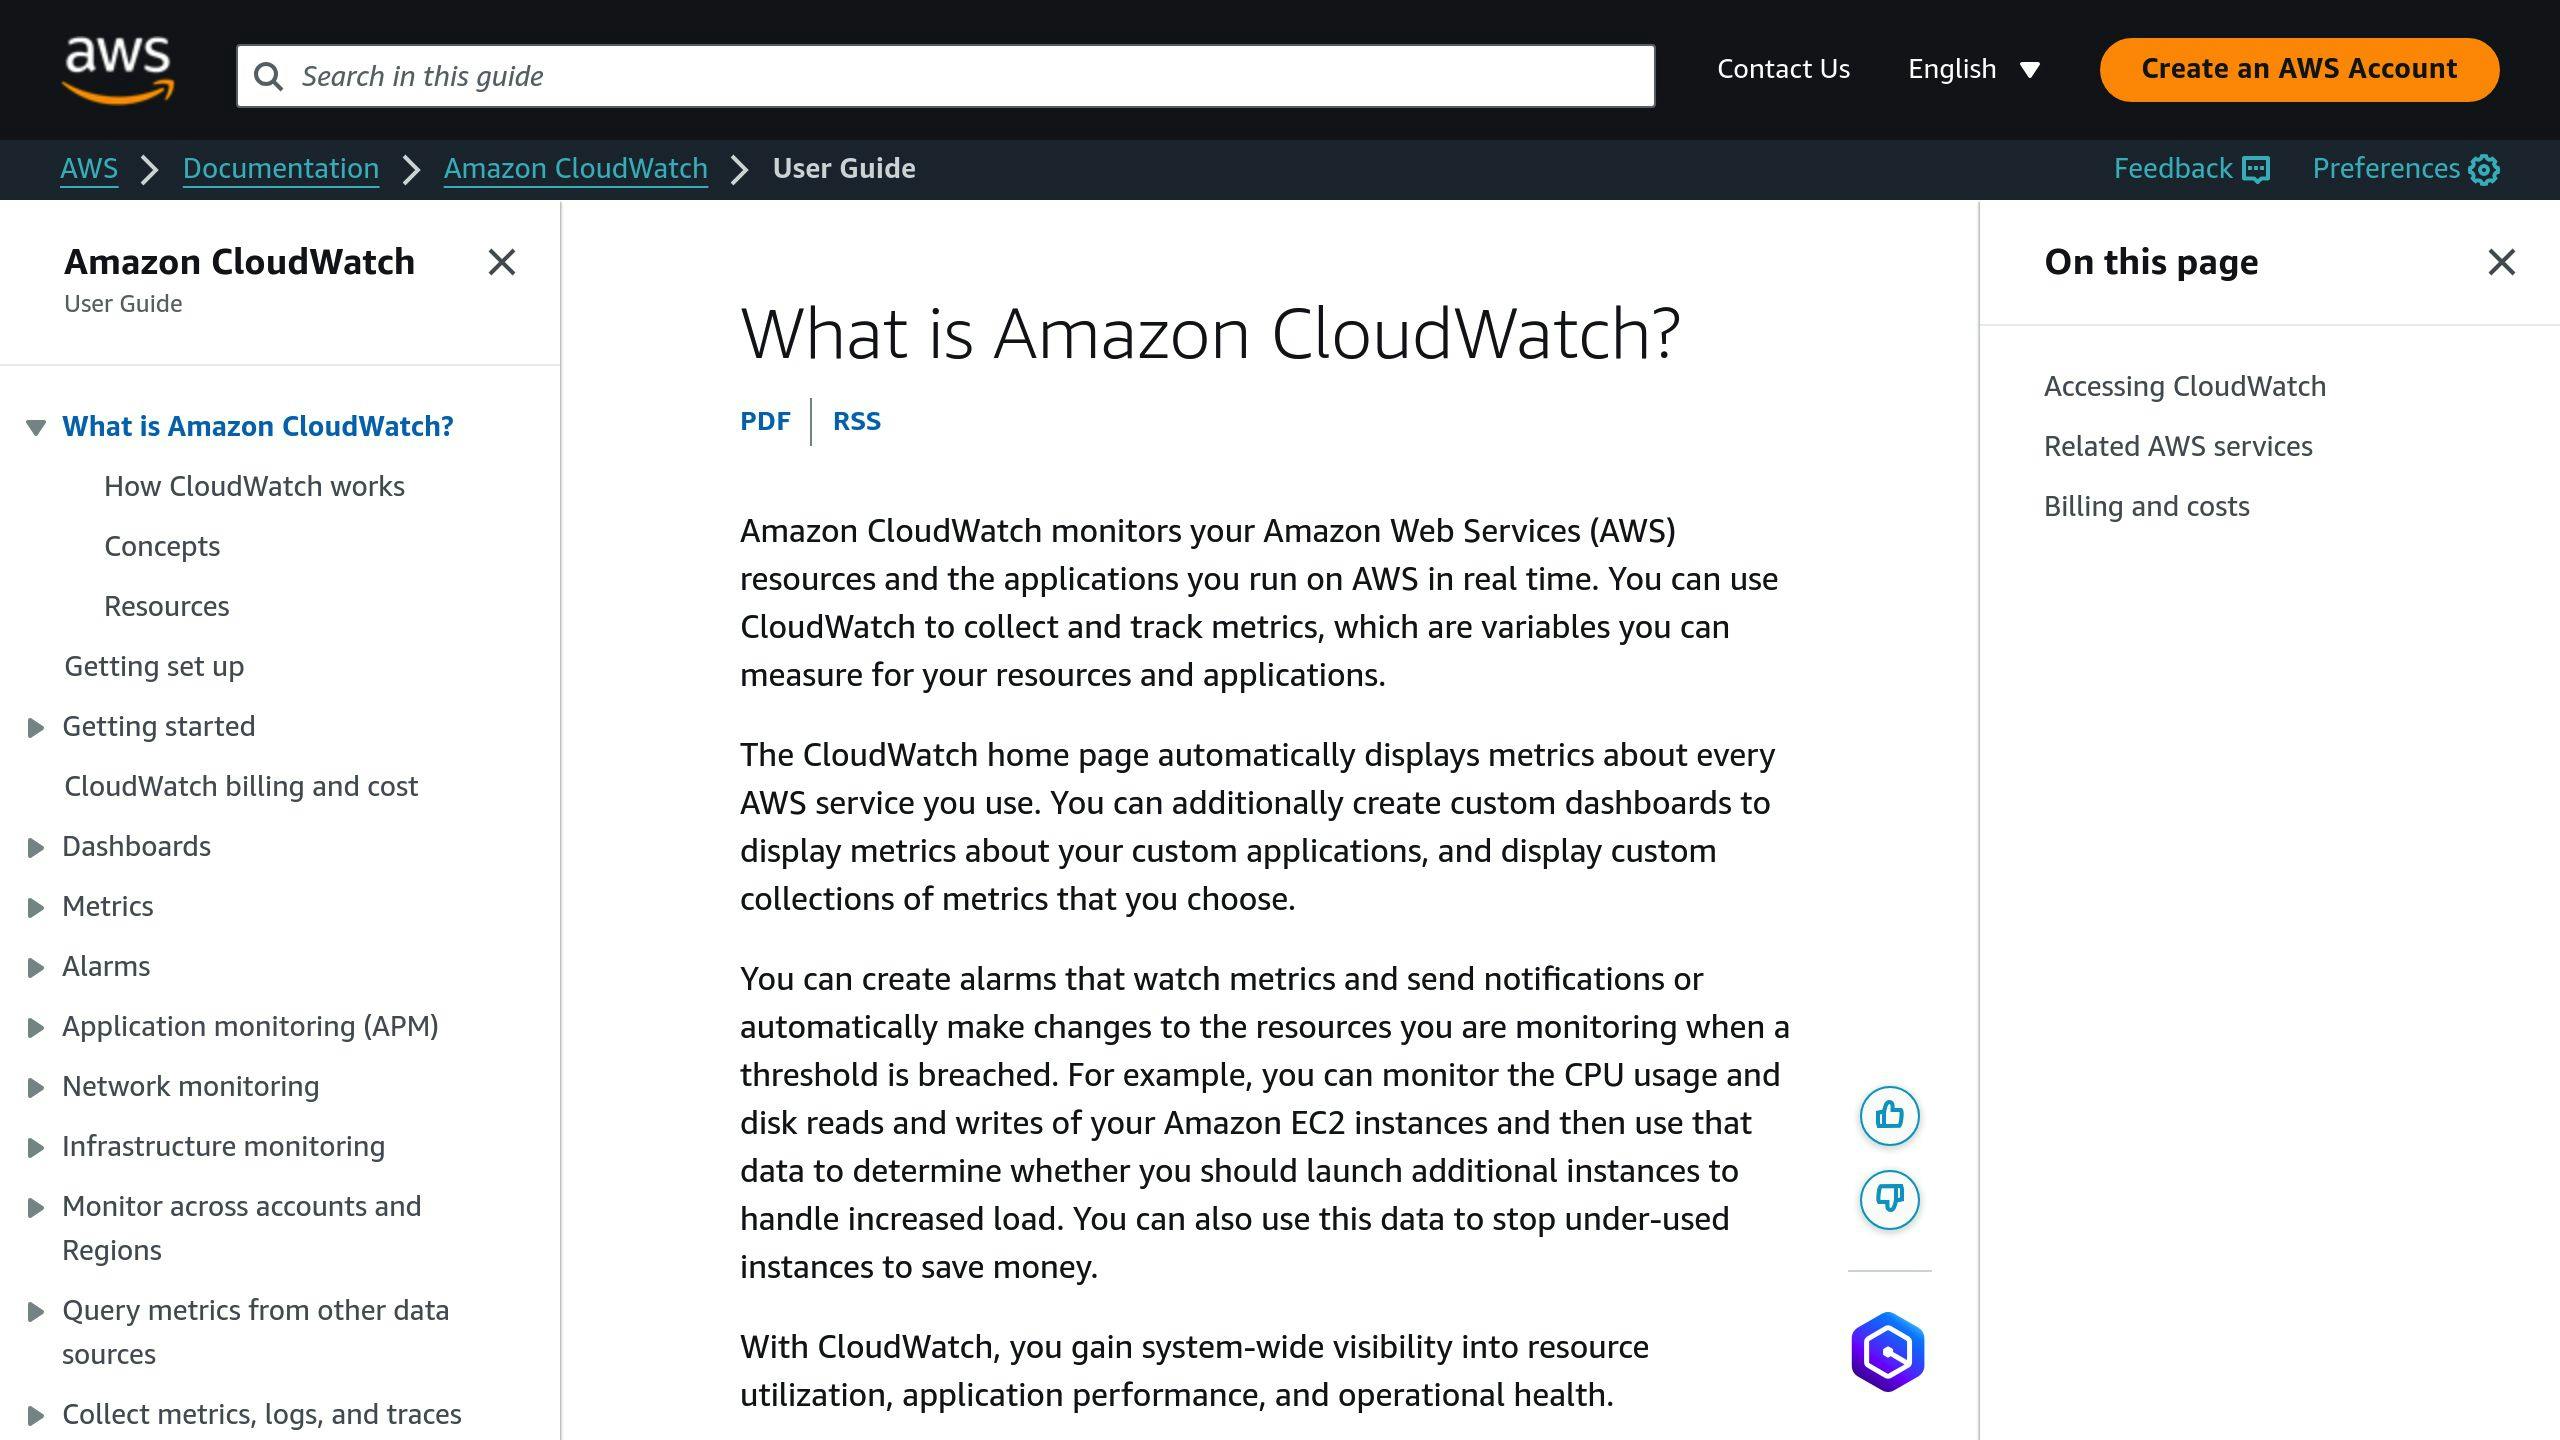
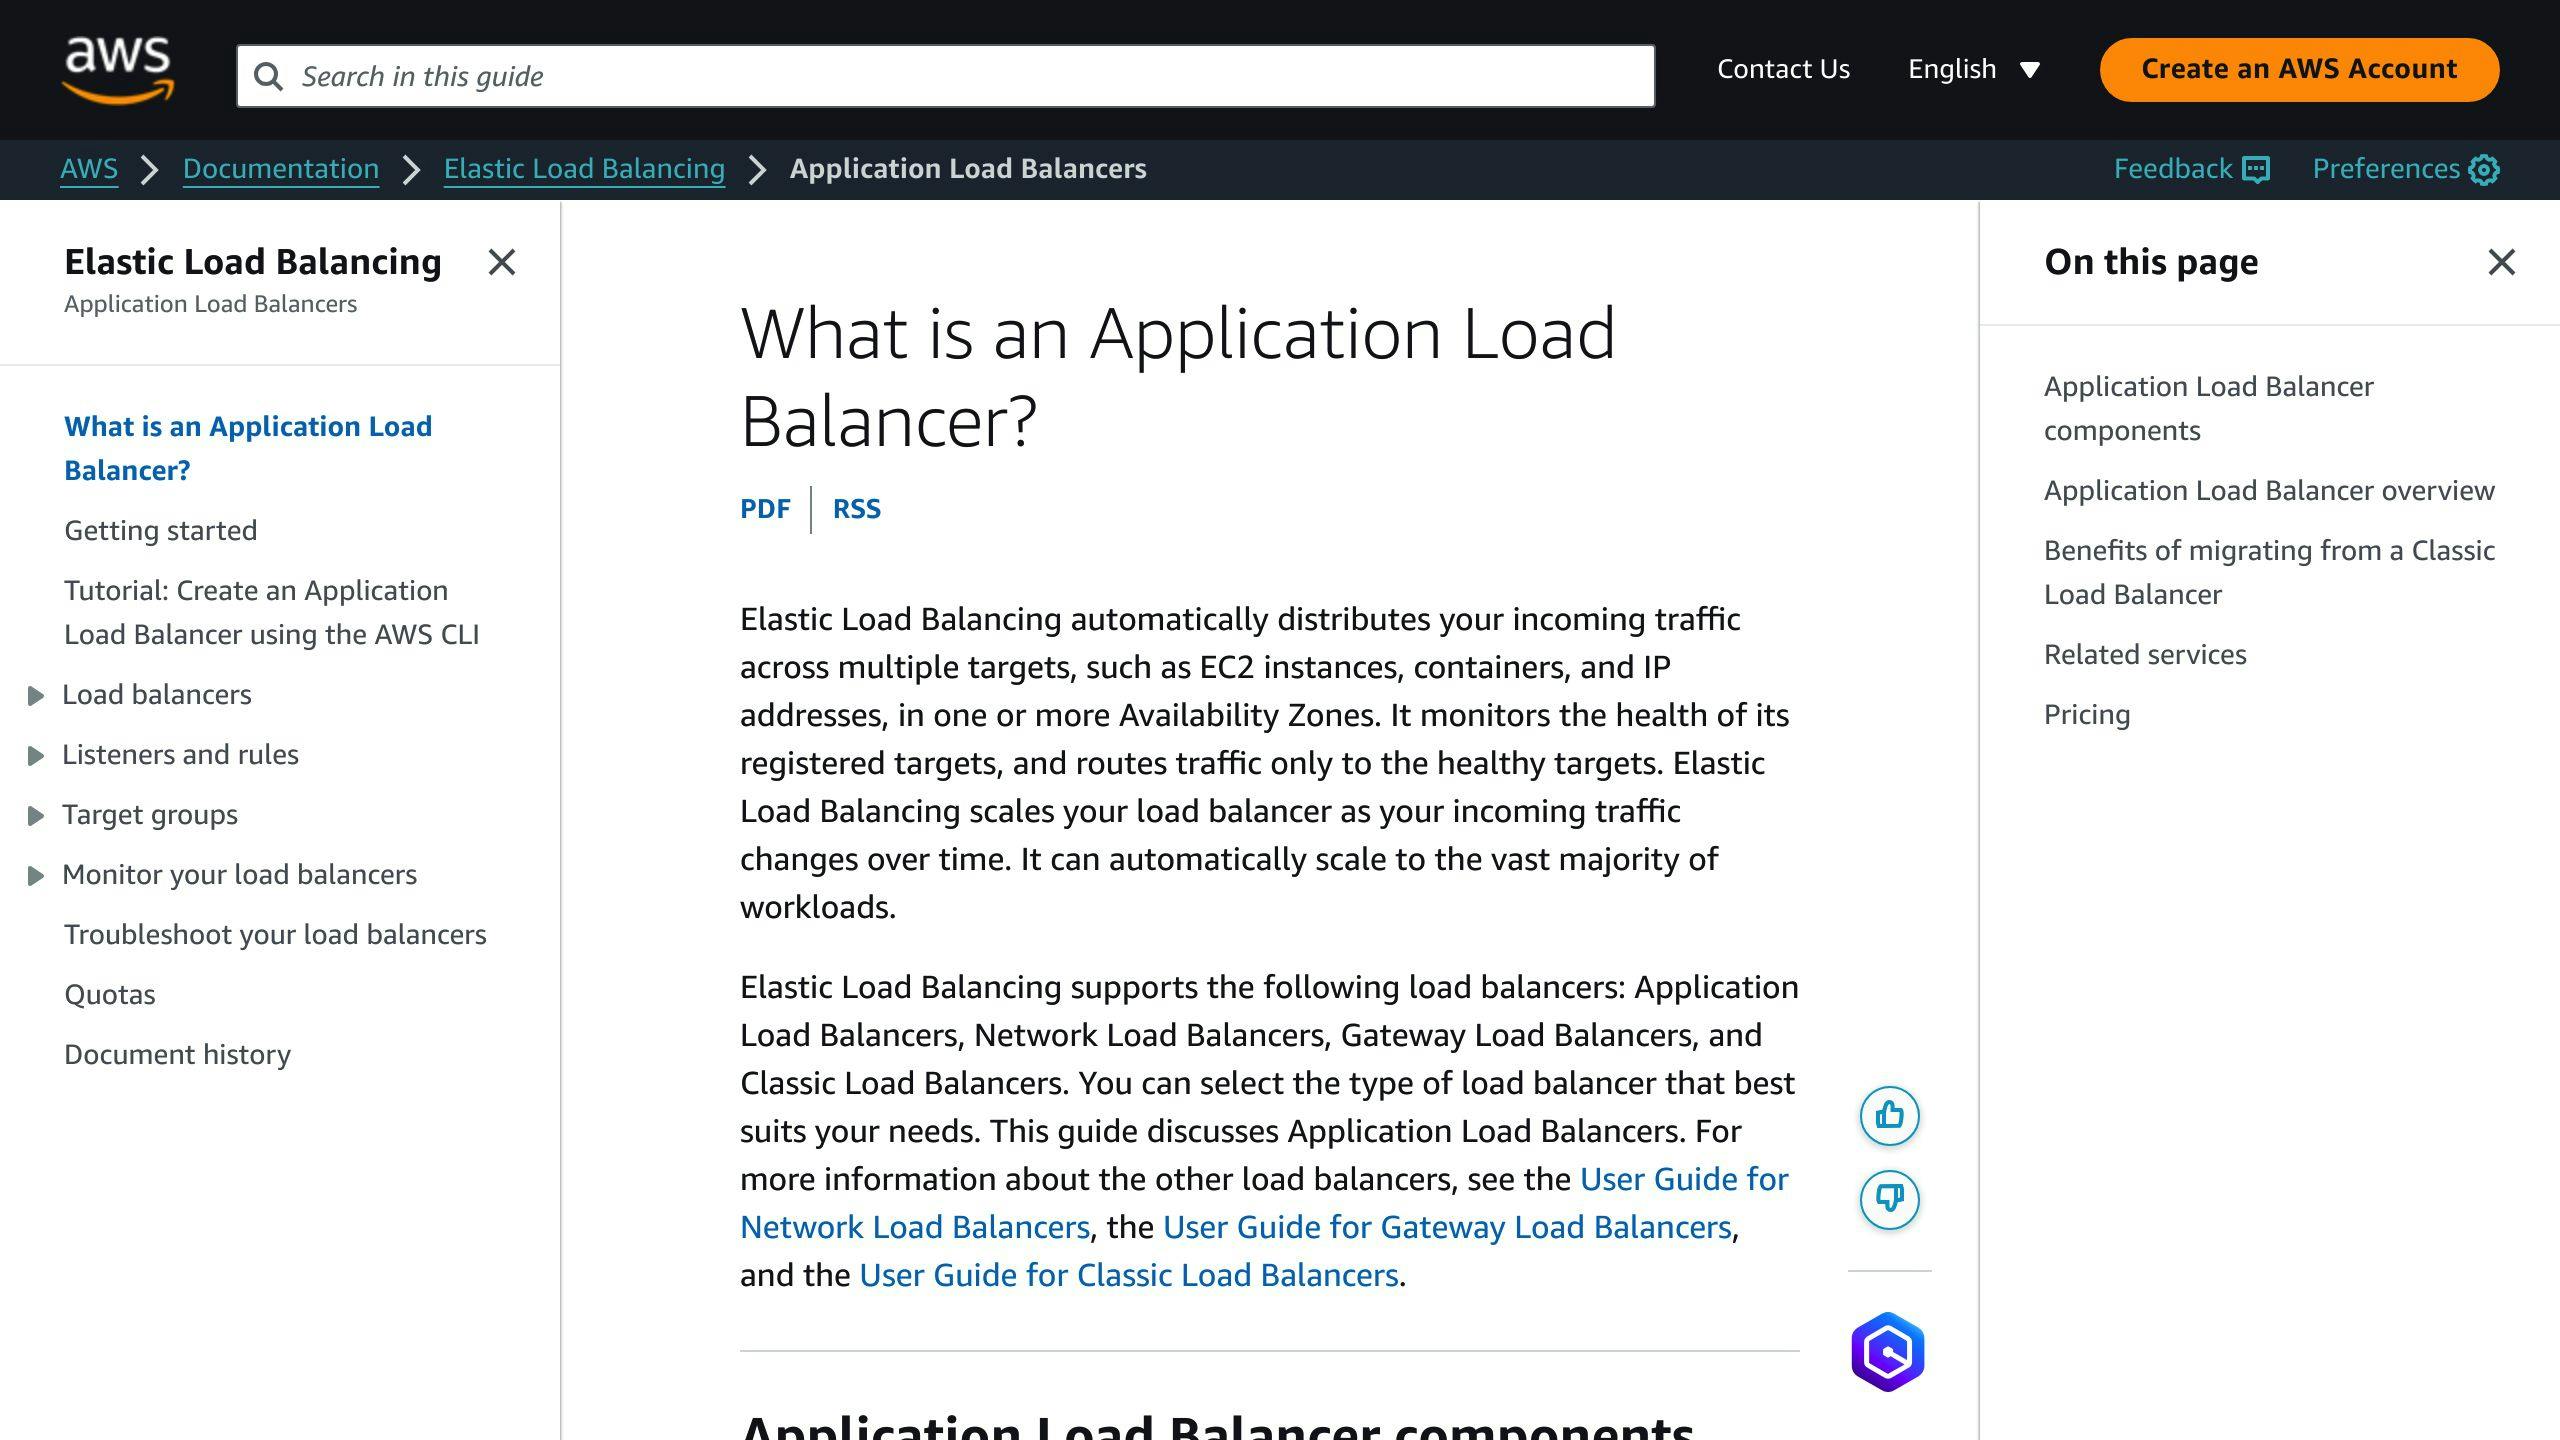
Elastic Load Balancing (ELB) is an AWS service that automatically distributes incoming traffic across multiple resources, ensuring high availability, fault tolerance, and scalability. This guide covers setting up an ELB in AWS:
Key Points:
-
AWS offers 4 load balancer types:
- Application Load Balancer (ALB) for HTTP/HTTPS traffic
- Network Load Balancer (NLB) for millions of requests per second with low latency
- Gateway Load Balancer (GLB) for managing virtual appliances
- Classic Load Balancer (CLB) for simple load balancing across EC2 instances
-
The setup process involves:
- Creating a target group
- Configuring the load balancer
- Registering targets
- Testing the load balancer
- Setting up auto scaling (optional)
- Monitoring and managing the load balancer
Load Balancer Configuration:
| Setting | Details |
|---|---|
| Name | Unique name for the load balancer |
| Type | Internet-facing or internal |
| IP Address Type | IPv4 or IPv6 |
| VPC | Virtual Private Cloud to deploy in |
| Subnets | Subnets within the VPC |
| Security Groups | Virtual firewalls controlling traffic |
| Listeners | Protocols and ports to accept traffic on |
| Target Groups | Groups of resources to route traffic to |
Benefits of Load Balancing:
- High availability by routing traffic to healthy targets
- Fault tolerance by detecting and avoiding unhealthy targets
- Scalability to handle changes in traffic
Monitoring and Management:
- Use AWS CloudWatch for metrics and alarms
- Update settings, add/remove targets, manage listeners
Related video from YouTube
Getting Started
AWS Account Setup

To set up an Elastic Load Balancer (ELB), you need an active AWS account with the right permissions to create and manage ELB resources. Make sure you have an AWS account ready before proceeding.
Understanding AWS Services
Before setting up an ELB, it's helpful to understand these AWS services:
- EC2 (Elastic Compute Cloud): Provides virtual servers for computing and storage.
- VPC (Virtual Private Cloud): A virtual network dedicated to your AWS account.
- Security Groups: Act as virtual firewalls to control traffic to your instances.
Choosing a Load Balancer Type
AWS offers four load balancer types:
| Load Balancer Type | Description |
|---|---|
| Application Load Balancer (ALB) | For load balancing HTTP and HTTPS traffic, with advanced routing for modern applications. |
| Network Load Balancer (NLB) | Handles millions of requests per second with ultra-low latencies. |
| Gateway Load Balancer (GLB) | Deploys, scales, and manages virtual appliances like firewalls and intrusion detection/prevention systems. |
| Classic Load Balancer (CLB) | Simple load balancing of traffic across multiple EC2 instances. |
Choose the type that best fits your use case, considering:
- Traffic type: HTTP, HTTPS, TCP, or UDP
- Scalability: The number of requests per second your application needs
- Latency: The acceptable delay between requests and responses
- Security: The level of security required for your application
1. Create a Target Group
What is a Target Group?
A target group is a set of resources (like EC2 instances, IP addresses, or Lambda functions) that a load balancer sends traffic to. It acts as the destination for traffic from the load balancer's listener. Each target group has settings for the protocol, port, and health checks. You can make multiple target groups to route different types of traffic to different resources.
Creating a Target Group
To create a target group in the AWS Management Console:
- Open the Amazon EC2 console and go to Target Groups under Load Balancing.
- Click Create target group.
- Select the Target type (instances, IP addresses, or Lambda functions).
- Enter a Target group name.
- Choose the Protocol and Port for the targets.
- Select the IP address type (IPv4 or IPv6) and the VPC for the targets.
- (Optional) Change the Protocol version and Health check settings if needed.
- (Optional) Add tags for the target group.
- Click Next to register targets.
Setting Up Health Checks
Health checks monitor the health of your targets and ensure traffic only goes to healthy ones. When creating a target group, you can set:
| Health Check Setting | Description |
|---|---|
| Health check protocol | The protocol for health checks (HTTP, HTTPS, TCP, etc.). |
| Health check path | The destination path for HTTP/HTTPS health checks. |
| Health check port | The port used for health checks. |
| Healthy/Unhealthy thresholds | The number of successful/failed health checks before a target is considered healthy or unhealthy. |
| Timeout | The time to wait for a response before marking a health check as failed. |
| Interval | The approximate time between health checks for a target. |
Adjust these settings based on your application's needs for accurate health monitoring.
Registering Targets
After creating the target group, register targets to it. The process varies by target type:
- EC2 instances: Select the instances from the list and specify the ports.
- IP addresses: Enter the IP addresses manually or select them from the VPC, and specify the ports.
- Lambda functions: Select the Lambda function to register.
Once you've registered the targets, click Create target group to finish.
2. Configure the Load Balancer
Basic Setup
First, give your load balancer a name and choose whether it should be internet-facing (accessible from the internet) or internal (only accessible within your VPC). The choice depends on whether your application needs to be publicly available or not.
Next, select the IP address type (IPv4 or IPv6) and the VPC where your load balancer will operate.
Network Configuration
Choose the subnets within your VPC where you want to deploy the load balancer. These subnets determine which resources the load balancer can access and route traffic to.
Security Groups
Security groups act as virtual firewalls, controlling traffic to your load balancer. You'll need to configure security groups to allow necessary traffic, such as HTTP or HTTPS for web applications.
| Security Group Setting | Description |
|---|---|
| Inbound Rules | Specify which traffic is allowed to reach the load balancer. |
| Outbound Rules | Specify which traffic the load balancer can send out. |
You can create a new security group or use an existing one that meets your requirements.
Listeners and Routing
Listeners determine how traffic is routed to your target groups. You can configure multiple listeners for different types of traffic (e.g., HTTP and HTTPS).
For HTTPS traffic, you'll need to set up SSL/TLS settings to encrypt traffic between the load balancer and your targets.
| Listener Setting | Description |
|---|---|
| Protocol | The protocol for the listener (e.g., HTTP, HTTPS). |
| Port | The port on which the listener will accept traffic. |
| Target Group | The target group to which the listener will route traffic. |
3. Register Targets
Adding targets to your load balancer is a key step. This allows the load balancer to distribute traffic to the right resources.
Using Target Groups
For Application, Network, and Gateway Load Balancers, you need to register targets through target groups. A target group is a set of targets that receive traffic from the load balancer. Here's how to register targets with a target group:
- Open the Amazon EC2 console and go to the Target Groups page.
- Select the target group you created earlier.
- Click Register targets and choose the instances, IP addresses, or Lambda functions to add.
- Specify the port and protocol for each target.
- Click Include as pending to add the targets to the target group.
Registering Instances Directly
For Classic Load Balancers, you can register instances directly with the load balancer:
- Open the Amazon EC2 console and go to the Load Balancers page.
- Select the Classic Load Balancer you created.
- Click Instances and choose the instances to add.
- Specify the port and protocol for each instance.
- Click Save to add the instances to the load balancer.
| Target Registration | Description |
|---|---|
| Target Groups | For Application, Network, and Gateway Load Balancers, register targets through target groups. |
| Direct Registration | For Classic Load Balancers, register instances directly with the load balancer. |
Follow these steps to ensure your load balancer can distribute traffic to the right resources.
sbb-itb-6210c22
4. Test the Load Balancer
Check Target Health
Before testing, check if your registered targets are healthy. On the Target groups page, look at the Target health column. If at least one target shows In-service, you can proceed with testing.
Access the Load Balancer
To test your load balancer:
- Find the load balancer's DNS name in the Description section.
- Copy the DNS name and paste it into a new browser tab.
If everything works correctly, your server's default page should display.
Verify Traffic Distribution
To ensure traffic distributes evenly across targets:
- Refresh the page multiple times.
- Check if the host IP address changes with each refresh.
If the IP address changes, your load balancer is distributing traffic correctly.
| Step | Action |
|---|---|
| 1 | Check target health status |
| 2 | Access the load balancer using its DNS name |
| 3 | Refresh the page and check for changing IP addresses |
5. Set Up Auto Scaling (Optional)
Attach to Auto Scaling Group
To automatically adjust the number of instances based on demand, you can attach your Elastic Load Balancer to an Auto Scaling group. Here's how:
- Go to the Auto Scaling console and select the Auto Scaling group.
- Click Edit, then Next to go to the Configure advanced options page.
- Under Load balancing, select Attach to an existing load balancer and choose your load balancer.
- Choose the target group you created earlier and click Next.
- Review the changes and click Update to attach the load balancer.
How Auto Scaling Works
Once attached, Auto Scaling will manage instance registration with the load balancer:
- Auto Scaling launches new instances based on your scaling policy.
- The load balancer automatically registers the new instances as targets.
- The load balancer distributes incoming traffic across all registered targets.
- If an instance becomes unhealthy or is terminated, Auto Scaling replaces it.
- The load balancer updates its target list accordingly.
| Step | Action |
|---|---|
| 1 | Auto Scaling launches new instances |
| 2 | Load balancer registers new instances as targets |
| 3 | Load balancer distributes traffic across targets |
| 4 | Auto Scaling replaces unhealthy or terminated instances |
| 5 | Load balancer updates target list |
6. Monitor and Manage
CloudWatch Monitoring

AWS CloudWatch provides metrics and logs to monitor your Elastic Load Balancer's performance and troubleshoot issues. You can view metrics like:
- RequestCount: The number of requests or connections made in a given time.
- Latency: The time taken for the load balancer to send a request to an instance and receive the response headers.
- UnHealthyHostCount: The number of unhealthy instances registered with your load balancer.
You can set up CloudWatch alarms to notify you when a metric exceeds a threshold.
| To Set Up a CloudWatch Alarm |
|---|
| 1. Open the CloudWatch console and go to Alarms. |
| 2. Click Create Alarm and choose the metric to monitor. |
| 3. Set the threshold value and evaluation period. |
| 4. Choose notification options (email, Lambda function, etc.). |
| 5. Click Create Alarm. |
Managing the Load Balancer
You can update settings, add or remove targets, and manage listeners for your Elastic Load Balancer.
| Management Tasks |
|---|
| Update settings: Change the load balancer's configuration, like idle timeout or cross-zone load balancing. |
| Add or remove targets: Add or remove instances from the target group to ensure only healthy instances are registered. |
| Manage listeners: Add or remove listeners, modify the listener protocol, or update the SSL/TLS certificate. |
You can use the AWS CLI or SDKs to automate these tasks.
Summary
Key Points
This guide covered the steps to set up an Elastic Load Balancer (ELB) in AWS. Load balancing helps ensure your applications are highly available, fault-tolerant, and scalable by efficiently routing traffic to healthy resources.
AWS offers four load balancer types:
| Load Balancer Type | Description |
|---|---|
| Application Load Balancer (ALB) | For HTTP and HTTPS traffic, with advanced routing for modern applications. |
| Network Load Balancer (NLB) | Handles millions of requests per second with low latency. |
| Gateway Load Balancer (GLB) | Manages virtual appliances like firewalls and intrusion detection/prevention systems. |
| Classic Load Balancer (CLB) | Simple load balancing across multiple EC2 instances. |
The guide covered:
- Creating a target group
- Configuring the load balancer
- Registering targets
- Testing the load balancer
- Setting up auto scaling (optional)
- Monitoring and managing the load balancer
Further Reading
For more details, refer to these resources:
FAQs
How do I create an Application Load Balancer (ALB) in AWS?

To create an Application Load Balancer (ALB) in AWS, follow these simple steps:
- Open the Amazon EC2 console at https://console.aws.amazon.com/ec2/.
- In the navigation pane, select Load Balancers.
- Click Create Load Balancer.
- Under Application Load Balancer, click Create.
- Enter a name for your load balancer, select a VPC, and choose the Availability Zones.
- Select the subnets for your load balancer.
- For Security groups, select an existing security group or create a new one.
How do I set up a Network Load Balancer (NLB) on AWS?

To set up a Network Load Balancer (NLB) on AWS:
- Open the Amazon EC2 console at https://console.aws.amazon.com/ec2/.
- In the navigation pane, select Load Balancers.
- Click Create load balancer.
- Under Network Load Balancer, click Create.
- Enter a name for your load balancer, select a VPC, and choose the Availability Zones.
- Select the subnets for your load balancer.
- For Security groups, AWS preselects the default security group for your VPC.
How do I set up network load balancing?
To set up network load balancing, follow these steps:
- Configure your target group: Create a target group, which is used in request routing.
- Choose a load balancer type: Select the appropriate load balancer type for your needs.
- Configure your load balancer and listener: Set up your load balancer and configure the listener.
- Test your load balancer: Verify that your load balancer is working correctly.
- (Optional) Delete your load balancer: If needed, you can delete your load balancer.
How do I configure a load balancer on AWS?
To configure a load balancer on AWS:
- Open the Amazon EC2 console at https://console.aws.amazon.com/ec2/.
- On the navigation bar, choose a Region for your load balancer.
- On the navigation pane, under Load Balancing, select Load Balancers.
- Click Create Load Balancer.
- Expand the Classic Load Balancer section, then click Create.
- Enter a name for your load balancer, select a VPC, and choose the Availability Zones.
How do I create an Elastic Load Balancer in AWS?
To create an Elastic Load Balancer in AWS, follow these steps:
- Open the Amazon EC2 console at https://console.aws.amazon.com/ec2/.
- In the navigation pane, select Load Balancers.
- Click Create Load Balancer.
- Under Application Load Balancer, click Create.
- Enter a name for your load balancer, select a VPC, and choose the Availability Zones.
- Select the subnets for your load balancer.
- For Security groups, select an existing security group or create a new one.


