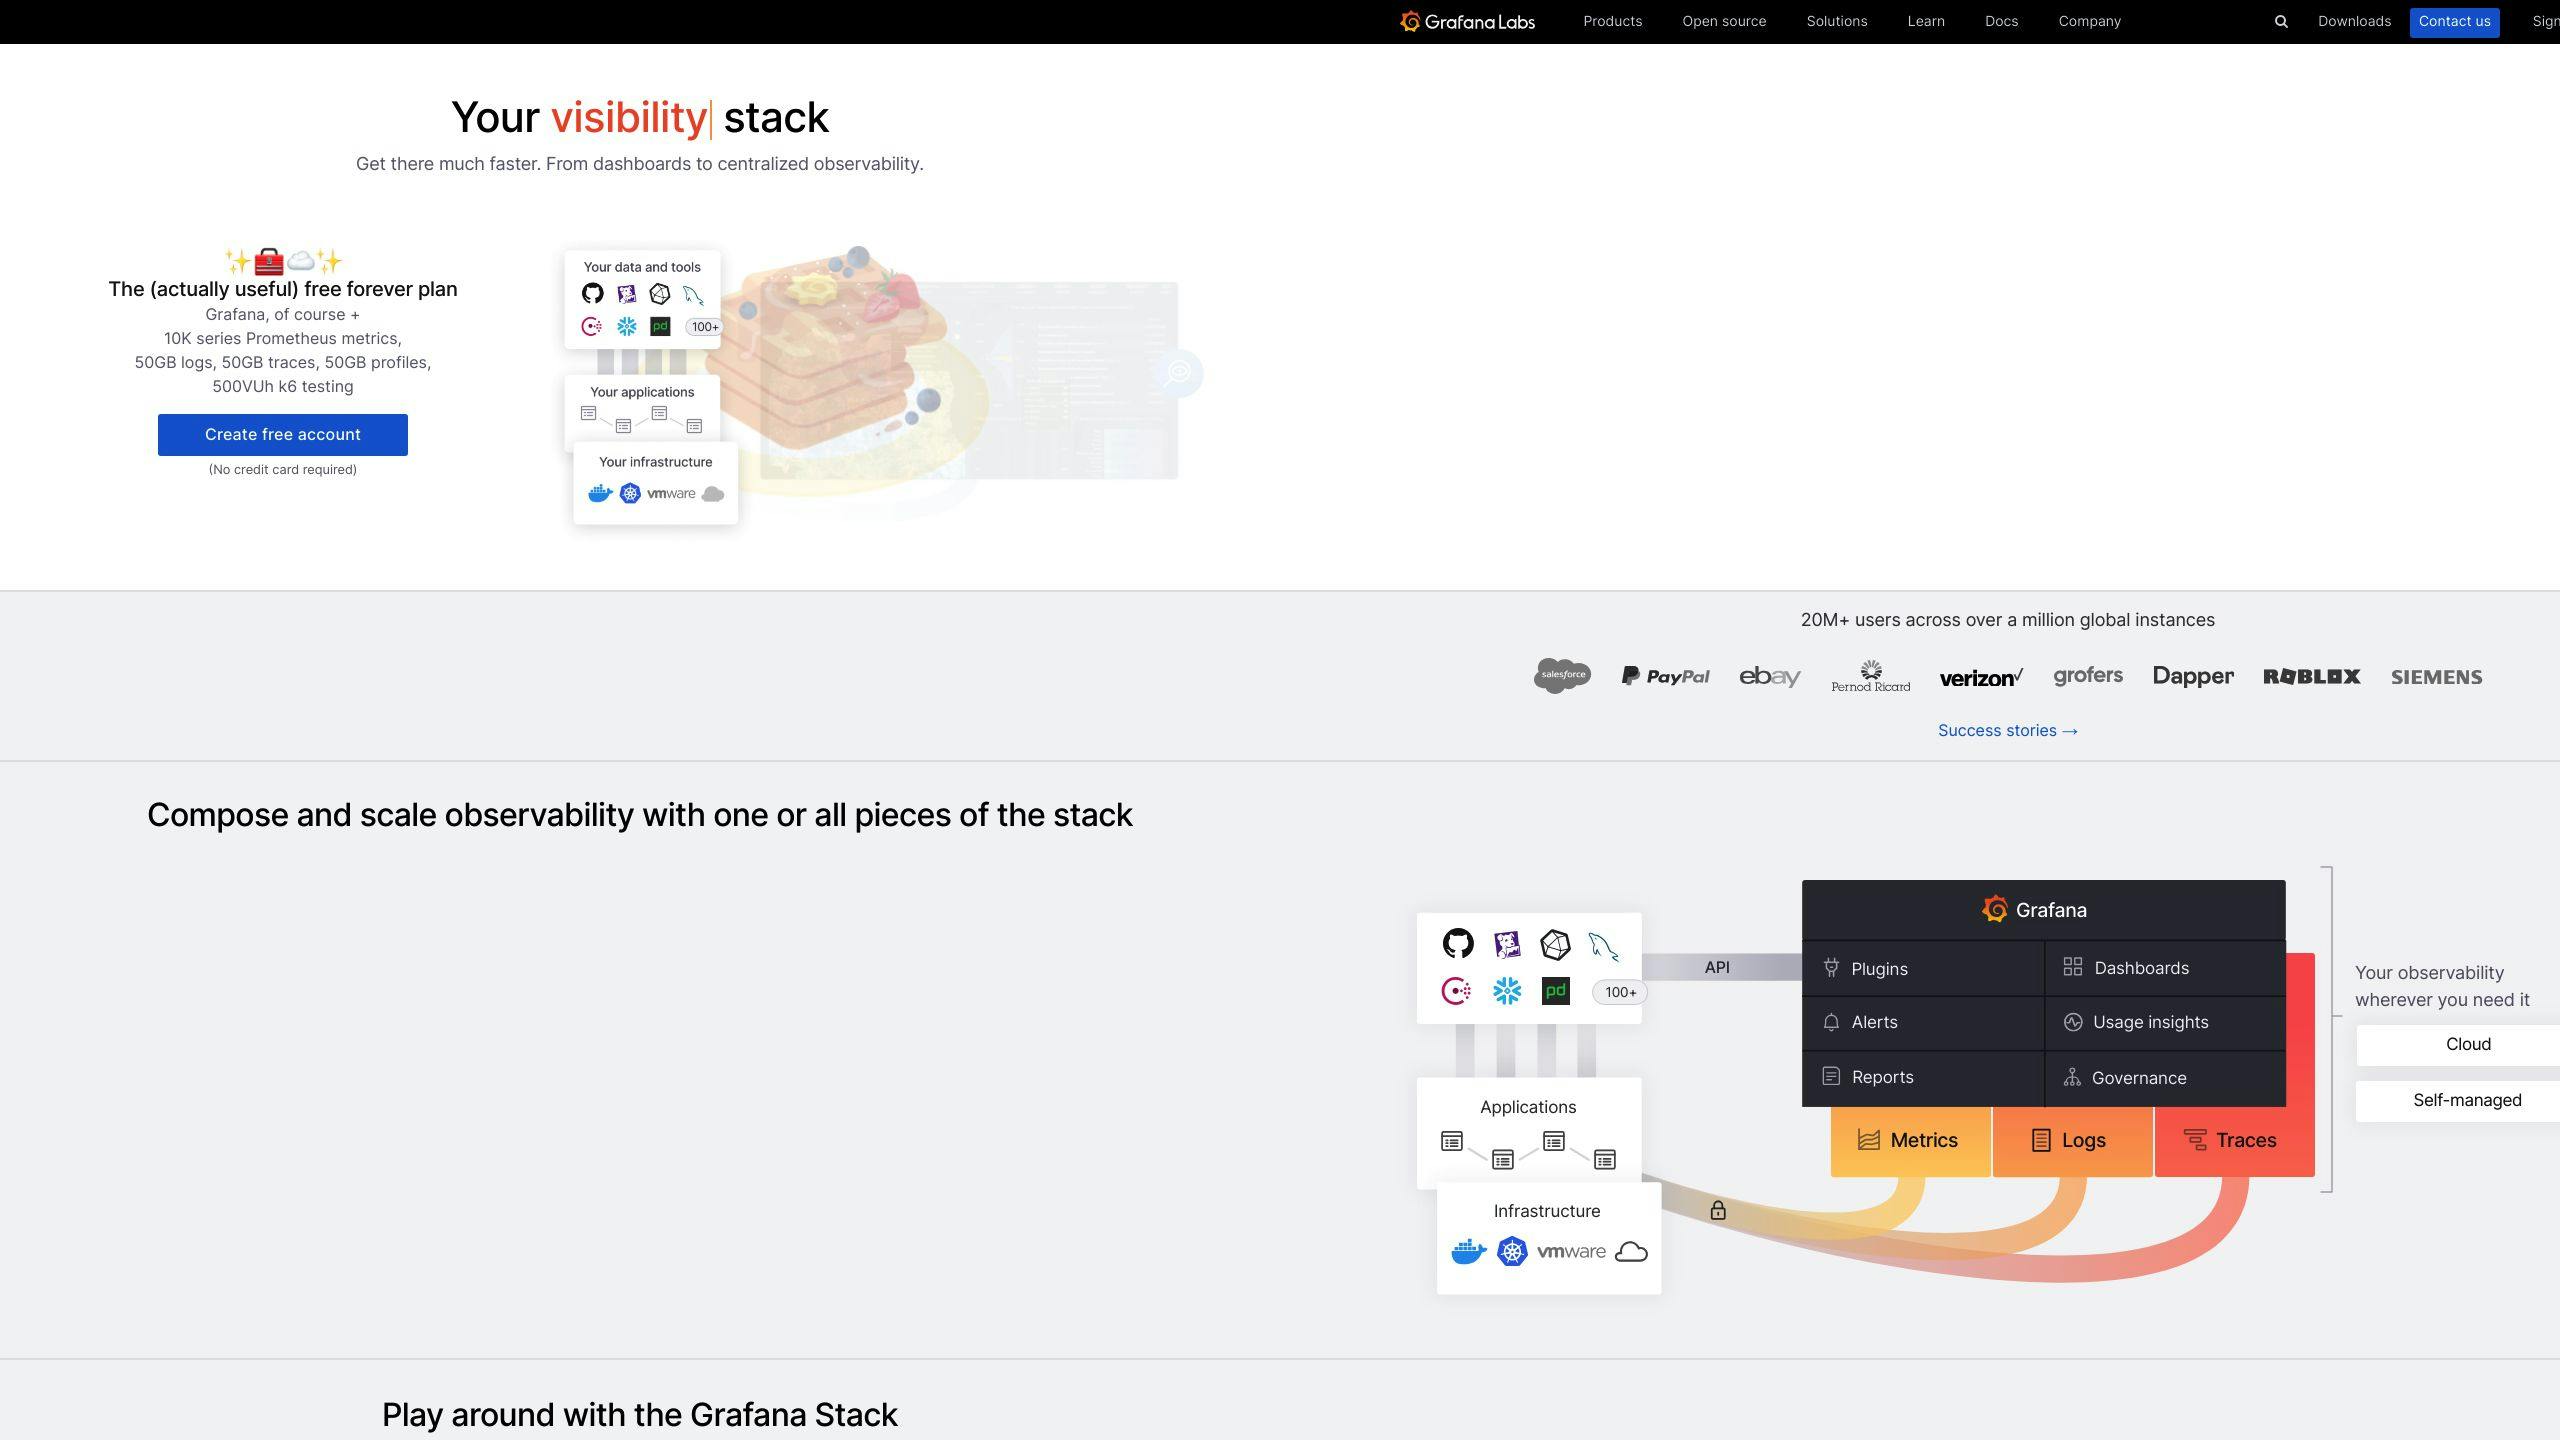
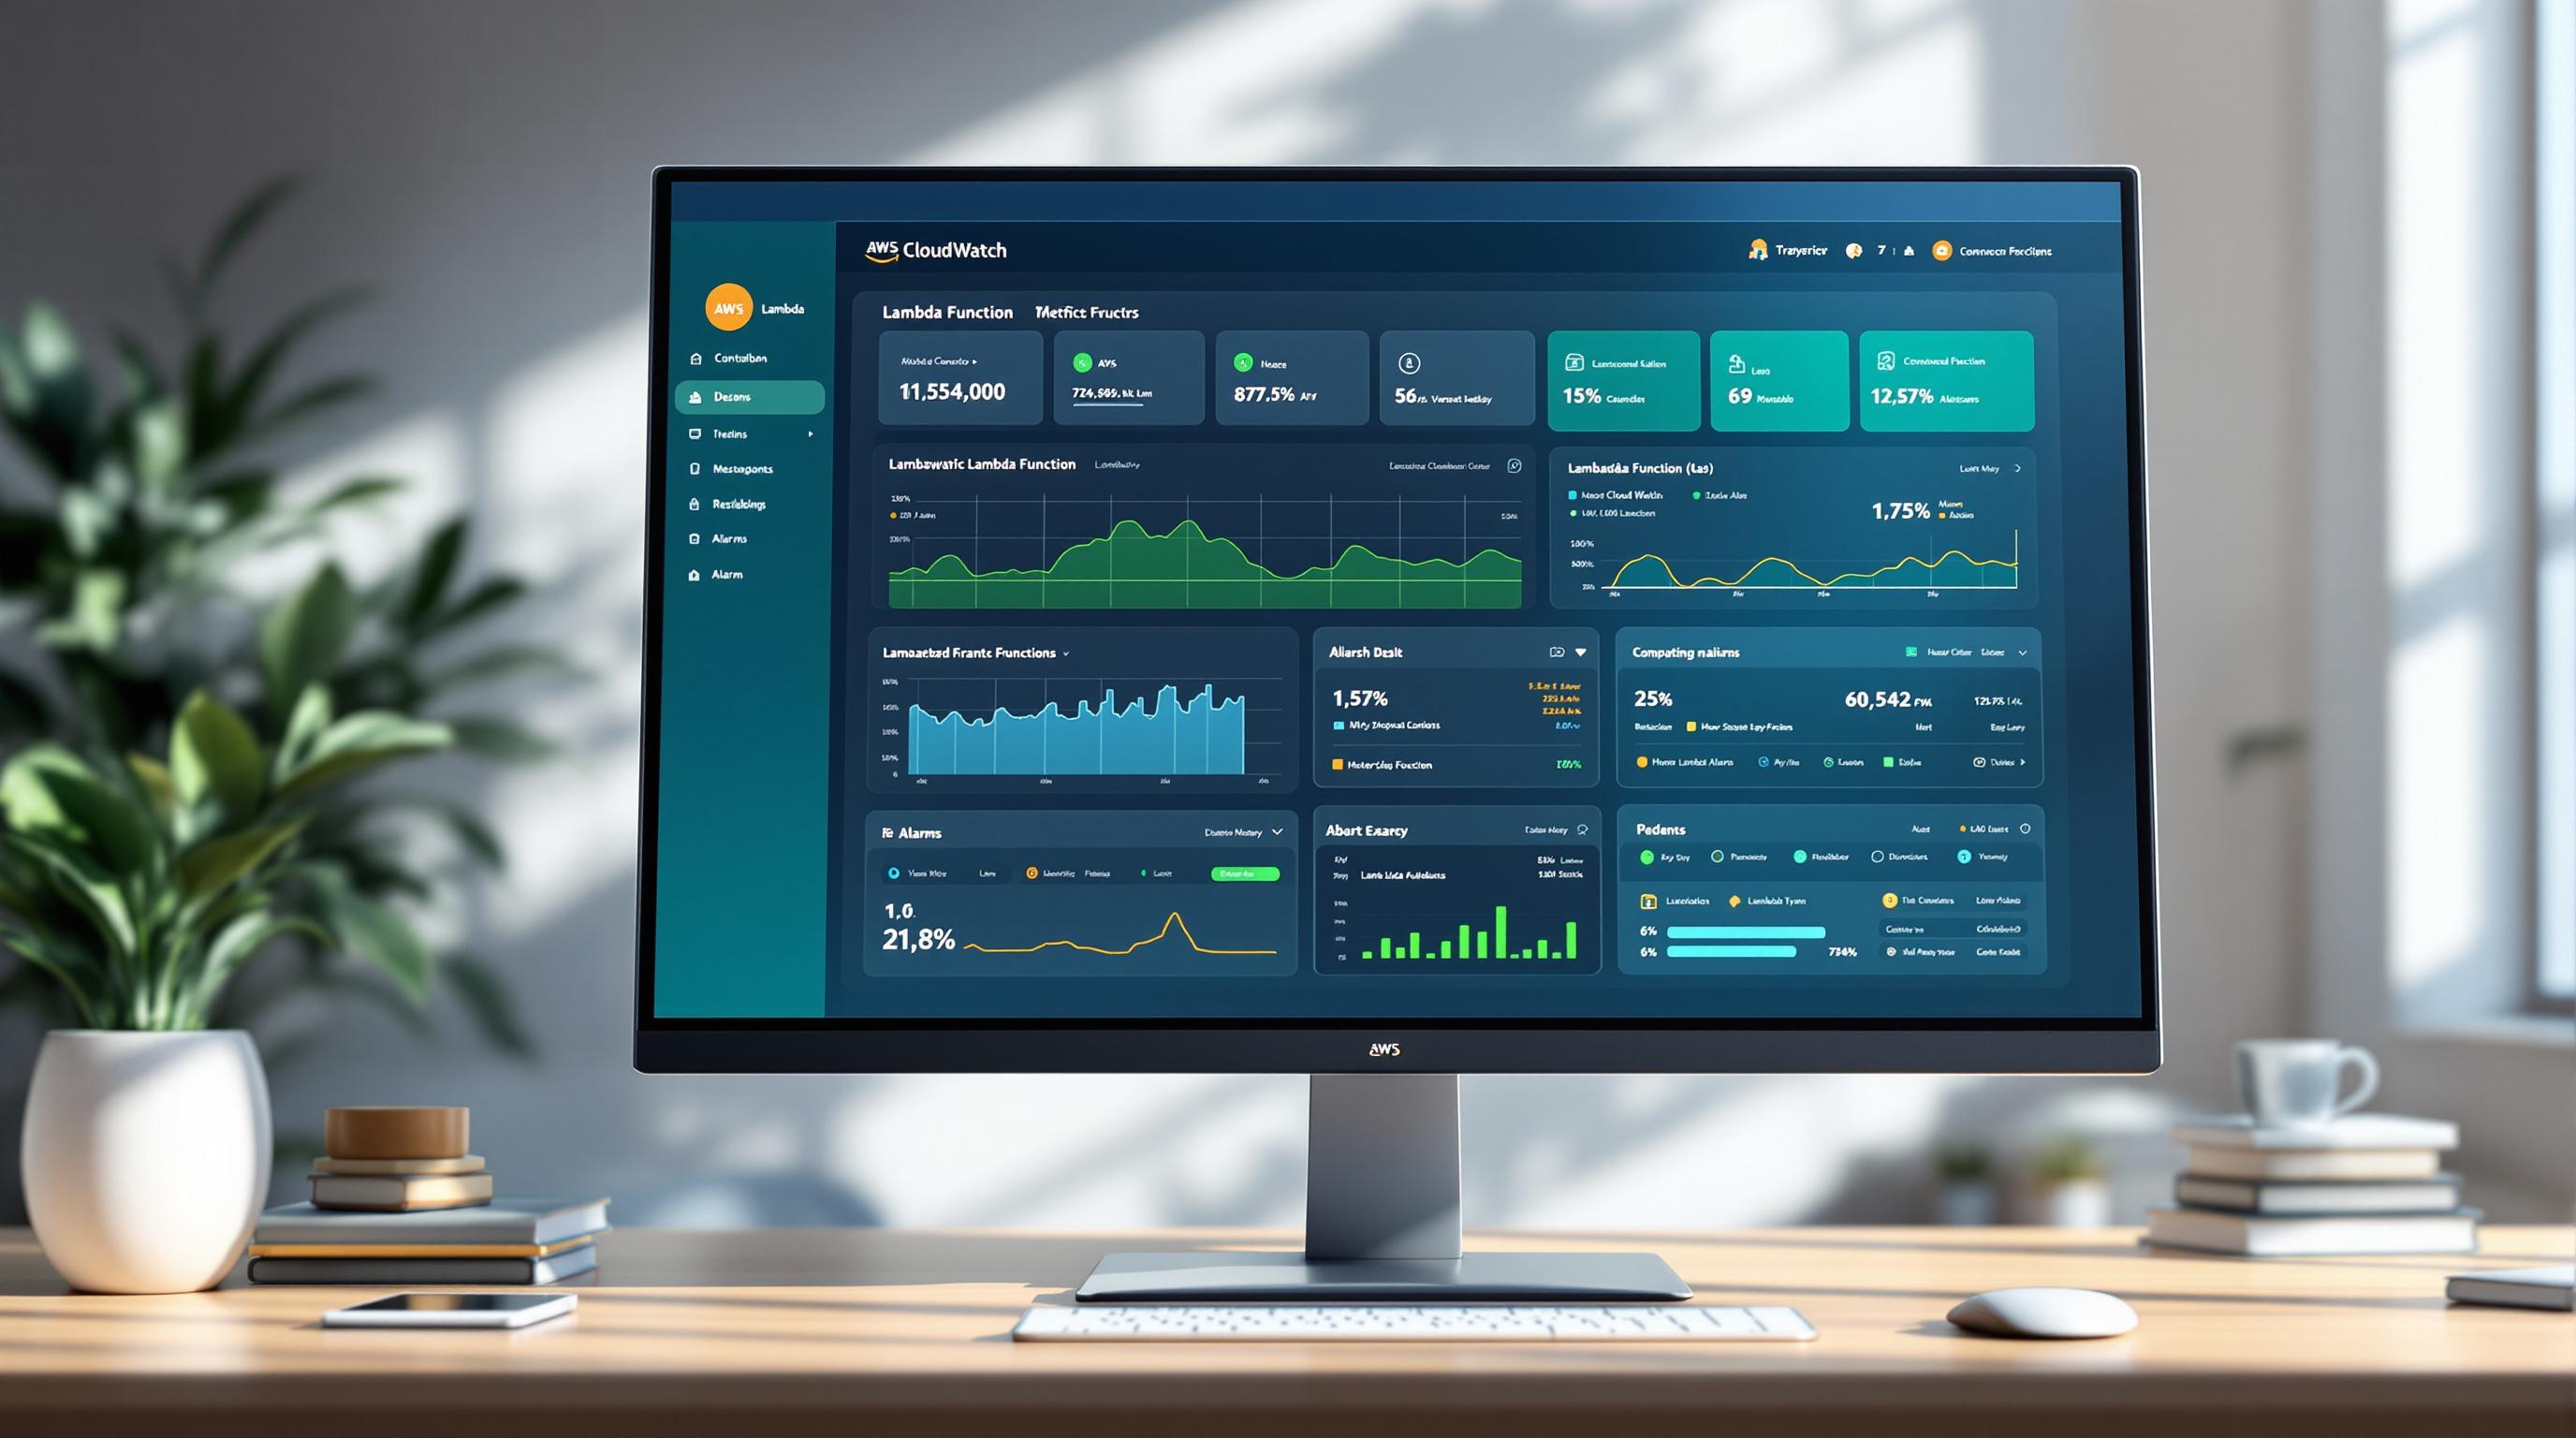
Want to supercharge your AWS monitoring? Here's how to set up AWS CloudWatch with Grafana:
- Prerequisites: AWS account, Grafana installed on EC2
- Connect CloudWatch: Add as data source in Grafana
- IAM Setup: Create role with
AmazonGrafanaCloudWatchAccesspolicy - Build Dashboards: Use templates or custom queries
- Troubleshoot: Fix common connection and performance issues
Key benefits:
- Real-time AWS resource monitoring
- Customizable dashboards
- Pay-as-you-go pricing
- Scalable for large datasets
83% of companies using this combo report time and effort savings.
"Centralized observability is critical to fully understand the state of your systems." - Ana Ivanov, Grafana Labs
Ready to dive in? Let's get your CloudWatch-Grafana integration up and running!
Related video from YouTube
Prerequisites
Let's get your setup ready for the AWS CloudWatch and Grafana integration. Here's what you need:
AWS Account
You'll need an AWS account with access to the Management Console. Don't have one? Sign up on the AWS website. Make sure you can create and manage IAM roles and policies.
Grafana Setup

Install Grafana on an EC2 instance:
- Launch an EC2 instance with Amazon Linux.
- Open ports 22 (SSH), 80 (HTTP), and 3000 (Grafana) in your security group.
- SSH into your instance and install Grafana.
Want high availability? Use a shared MySQL or Postgres database instead of sqlite3.
IAM Access
Set up the right IAM permissions:
- Create a new IAM role.
- Attach the
AmazonGrafanaCloudWatchAccesspolicy. - Add a trust relationship with
grafana.amazonaws.com.
Your policy should allow:
cloudwatch:ListMetricscloudwatch:GetMetricStatisticscloudwatch:GetMetricData
Network Configuration
Make sure AWS and Grafana can talk to each other:
- Set up your VPC and subnets.
- Configure routing tables.
- Allow necessary traffic in your security groups.
Setting Up CloudWatch Data Source
Let's connect CloudWatch as a data source in Grafana. This step is key for your AWS monitoring setup.
Adding CloudWatch to Grafana
Here's how to add CloudWatch:
- Go to Connections in Grafana's left menu
- Click Data sources under "Your connections"
- Search for "CloudWatch"
- Click CloudWatch to open settings
Only organization admins can add data sources. Check your permissions if you don't see these options.
Choosing Authentication Method
Grafana offers several ways to authenticate with CloudWatch:
| Auth Method | When to Use | Good | Not So Good |
|---|---|---|---|
| AWS SDK Default | Open-source Grafana | Uses workspace permissions | Less flexible |
| Access & Secret Key | Quick setup | Easy to set up | Keys can be exposed |
| IAM Roles | Production use | Secure, no key management | More complex |
| Grafana Assume Role | Advanced setups | Flexible, multi-account access | Needs extra config |
IAM roles are usually best for security and ease. But for testing, Access & Secret Key gets you started fast.
AWS Region Setup
Set the right AWS region:
- Find Default Region in CloudWatch settings
- Pick your AWS resources' region
- Use template variables in dashboards for multi-region setups
Tip: For resources across regions, set up separate data sources per region. It'll make your queries faster.
API Settings
Tweak these settings for better Grafana-CloudWatch integration:
- Timeout: Balance between allowing complex queries and preventing slowdowns. Try 30 seconds to start.
- Assume Role ARN: For Grafana Assume Role, paste your role's ARN. Crucial for multi-account setups.
- External ID: Needed for assuming roles in other AWS accounts. Grafana generates this for you.
- Custom Endpoints: For VPC endpoints or custom AWS setups, specify them here.
These settings impact Grafana's performance and security. Adjust them as you go to fit your needs.
IAM Configuration
Let's set up IAM roles and policies for secure CloudWatch-Grafana integration:
Creating a New IAM Role
Here's how to create an IAM role for Grafana:
- Open AWS Management Console
- Go to IAM service
- Click "Roles" in sidebar
- Hit "Create role"
- Pick "AWS service" as trusted entity
- Choose "EC2" for use case
- Click "Next: Permissions"
Adding IAM Policies
Attach these to your new role:
AmazonGrafanaCloudWatchAccessCloudWatchReadOnlyAccess
Want more control? Use this custom policy:
{
  "Version": "2012-10-17",
  "Statement": [
    {
      "Effect": "Allow",
      "Action": [
        "cloudwatch:PutMetricData",
        "cloudwatch:GetMetricStatistics",
        "cloudwatch:GetMetricData",
        "cloudwatch:ListMetrics"
      ],
      "Resource": "*"
    },
    {
      "Effect": "Allow",
      "Action": [
        "logs:DescribeLogGroups",
        "logs:GetLogGroupFields",
        "logs:StartQuery",
        "logs:StopQuery",
        "logs:GetQueryResults",
        "logs:GetLogEvents"
      ],
      "Resource": "*"
    }
  ]
}
This policy gives the necessary permissions while keeping things tight.
Multi-Account Access
Need CloudWatch data from multiple AWS accounts?
- Make a role in each target account
- In the Grafana AWS account, create a role with
sts:AssumeRolepermission - Add this policy to the Grafana role:
{
  "Version": "2012-10-17",
  "Statement": [
    {
      "Effect": "Allow",
      "Action": "sts:AssumeRole",
      "Resource": [
        "arn:aws:iam::ACCOUNT-ID-1:role/GrafanaCloudWatchRole",
        "arn:aws:iam::ACCOUNT-ID-2:role/GrafanaCloudWatchRole"
      ]
    }
  ]
}
Don't forget to swap out ACCOUNT-ID-1 and ACCOUNT-ID-2 with real AWS account IDs.
Trust Settings
To get AWS and Grafana talking:
- Edit the trust relationship of the IAM role in each target AWS account
- Use this trust policy:
{
  "Version": "2012-10-17",
  "Statement": [
    {
      "Effect": "Allow",
      "Principal": {
        "AWS": "arn:aws:iam::GRAFANA-ACCOUNT-ID:role/GrafanaAssumeRole"
      },
      "Action": "sts:AssumeRole",
      "Condition": {
        "StringEquals": {
          "sts:ExternalId": "UNIQUE-EXTERNAL-ID"
        }
      }
    }
  ]
}
Replace GRAFANA-ACCOUNT-ID with your Grafana AWS account ID and UNIQUE-EXTERNAL-ID with a random string.
The Amazon Managed Grafana team says: "Using an External ID helps prevent the 'confused deputy' problem when allowing access between accounts."
sbb-itb-6210c22
Building Grafana Dashboards
Let's talk about creating killer dashboards for monitoring your AWS resources with CloudWatch. Here's how to make Grafana dashboards that actually tell you something useful.
Ready-Made Dashboards: A Shortcut
Grafana's got pre-built dashboards for popular AWS services. Here's how to grab them:
- Hit up your CloudWatch data source config page
- Click the Dashboards tab
- See a dashboard you like? Click Import
Pro tip: Save the imported dashboard with a new name. That way, you won't mess up the original when you start tweaking things.
Custom Metric Queries: Getting Specific
Want to create your own panels? Here's the drill:
- Click Add panel on your dashboard
- Pick CloudWatch as your data source
- Choose your AWS region and namespace
- Pick your metric and statistic
Let's say you want to keep an eye on your RDS CPU usage:
- Region: eu-west-1
- Namespace: AWS/RDS
- Metric Name: CPUUtilization
- Statistic: Average
- Dimensions: DBInstanceIdentifier = [Your RDS Instance]
Log Queries: Digging into the Details
Need to visualize log data? Grafana's got you covered:
- Add a new panel, choose CloudWatch
- Switch Query Mode to CloudWatch Logs
- Pick your log group and set up filters
Heads up: To keep things running smooth, limit the number of lines shown. Tweak Max data points in Query options.
Dashboard Management: Keeping It Clean
Managing your dashboards well is key to getting a clear picture of your AWS setup. Here's how to do it right:
1. Use variables
Make your dashboards dynamic. Set up variables for things like EC2 InstanceId or RDS Cluster Name. It'll make filtering a breeze.
2. Organize your panels
Group related stuff together. Keep all your EC2 metrics in one row, RDS in another. It'll make sense at a glance.
3. Set smart refresh intervals
Auto-refresh is great, but don't go overboard. You want up-to-date data, not a CloudWatch query overload.
4. Use Grafana folders
Organize your dashboards into folders. Maybe by service, maybe by team. Whatever makes sense for you.
The goal? Dashboards that give you the info you need, fast. Don't try to show everything – focus on what matters most for each service.
"Good dashboards don't show all the data. They show the right data, in the right way." - Torkel Ödegaard, the guy who made Grafana
Fixing Common Problems
Setting up AWS CloudWatch with Grafana can be a pain. Let's look at some issues you might run into and how to fix them.
Connection Issues
Can't connect? It's probably your network settings or IAM setup. Here's what to do:
Check your VPC and subnet settings. Make sure your Grafana instance can actually reach AWS services.
Look at your security group rules. You need to allow outbound traffic to CloudWatch endpoints.
Test it out. Use the AWS CLI to run a simple CloudWatch query from your Grafana server.
Still not working? Double-check your AWS region settings in Grafana. People mess this up all the time.
Login Problems
IAM and credential issues can block your Grafana-CloudWatch connection. Here's how to fix them:
Check your IAM role permissions. Make sure it has the AmazonGrafanaCloudWatchAccess policy.
If you're using access keys, rotate them regularly. And make sure they're set up right in Grafana.
For cross-account setups, check the trust relationship. Here's what it should look like:
{
  "Version": "2012-10-17",
  "Statement": [
    {
      "Effect": "Allow",
      "Principal": {
        "AWS": "arn:aws:iam::YOUR-GRAFANA-ACCOUNT-ID:root"
      },
      "Action": "sts:AssumeRole"
    }
  ]
}
Just swap out YOUR-GRAFANA-ACCOUNT-ID with your actual Grafana AWS account ID.
Access Errors
Getting "not authorized" errors? Time to look at your IAM policies:
Make sure your policy includes all the CloudWatch actions you need. The big ones are:
cloudwatch:GetMetricDatacloudwatch:ListMetricslogs:StartQuerylogs:StopQuerylogs:GetQueryResults
Check your resource ARNs. Your policy needs to cover the specific CloudWatch resources you're trying to use.
If you see a iam:PassRole error, add that action to your policy for the specific role ARN Grafana needs to assume.
Query Speed Issues
Slow queries can make your dashboards useless. Here's how to speed things up:
Limit your data points. In Grafana's query options, set a reasonable Max data points value. Start with 1000 and go from there.
Increase the minimum interval. Set the Min interval in query options to fetch fewer data points.
Write better queries. Don't use wildcards in metric names and dimensions if you can help it.
Use downsampling for big datasets. TimescaleDB's hyperfunctions like lttb() (Largest Triangle Three Buckets) can help a lot.
Here's a real example: One Grafana user had a dashboard showing stock prices over 30 days. It had over 10,000 points per day for each stock symbol. By using lttb() downsampling, they cut 315,000 rows down to just 1,404. Load time went from over 5 seconds to less than 1 second.
"Using lttb(), the downsampled data looks almost the same as the original, but with less than 0.5% of the points!"
Conclusion
Setting up AWS CloudWatch with Grafana is a game-changer for monitoring your AWS setup. Here's a quick rundown of what we covered:
1. Prerequisites
Make sure you've got an AWS account and Grafana installed.
2. CloudWatch Data Source Setup
We walked through connecting CloudWatch to Grafana, including auth methods and API settings.
3. IAM Configuration
We tackled creating roles and policies for secure access.
4. Building Grafana Dashboards
From using pre-made templates to crafting custom queries for metrics and logs.
5. Troubleshooting
We covered common hiccups and how to fix them.
Remember, good monitoring isn't just about data collection. It's about storytelling. As the Amazon Managed Grafana Team says, "A dashboard should tell a story or answer a question." Keep that in mind when you're building.
Here are some pro tips to level up your CloudWatch-Grafana game:
- Clean up your dashboards regularly. Ditch the ones you don't need and create a "master dashboard" for easy navigation.
- Use templates and variables. They'll keep things consistent and make your dashboards work across different setups.
- Don't go overboard with refresh rates. Too much refreshing can slow things down.
Kyle Kodani from FloQast shared a cool insight: "This one graph about counting sync jobs ended up helping debug other issues we encountered later." It just goes to show how useful well-designed dashboards can be.
Want to dig deeper into AWS? Check out AWS for Engineers. They've got solid, tech-focused guides that can help you get even more out of your AWS setup.
FAQs
How to get CloudWatch logs in Grafana?
Getting CloudWatch logs in Grafana isn't rocket science, but you do need to set up the right permissions. Here's the deal:
First, you've got to give Grafana the green light to peek at your CloudWatch stuff. This means granting permissions to read metrics, EC2 tags, instances, regions, and alarms.
Next, you need to hook these permissions up to the IAM role or user you're using for AWS in Grafana. It's like giving Grafana a special backstage pass to your AWS show.
But here's the kicker: make sure that IAM role or user can specifically access CloudWatch logs. It's not enough to have general AWS permissions - you need the VIP access for logs.
As one smart cookie on the Grafana Community Forum put it: "Double-check that your Grafana user has the CloudWatch logs permission in IAM. It's easy to miss!"
Get these permissions sorted, and you'll be pulling CloudWatch logs into Grafana like a pro. It's a game-changer for keeping an eye on your AWS setup all in one place.


